Part 11: Resting Giants
Update 11: The Resting Giants
Welcome back! Last time we took Anadine to go get healed by Yates, but due to his terror at Reiner coming, we had to fight through a bunch of zombies to convince Yates to help. This time, we’re going into a monster graveyard (think elephant graveyard) to get a rare component he needs to save Anadine.
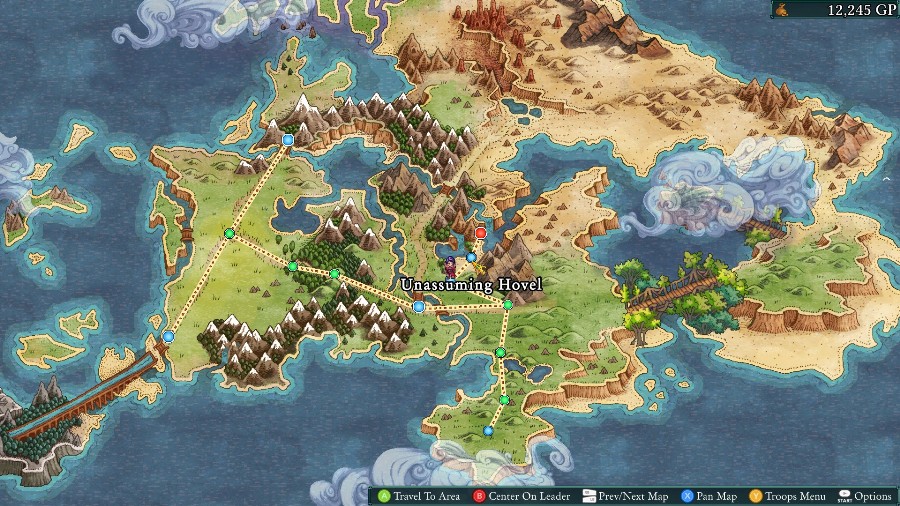
But first, just below the giants, we find an unassuming hovel. If we approach it,
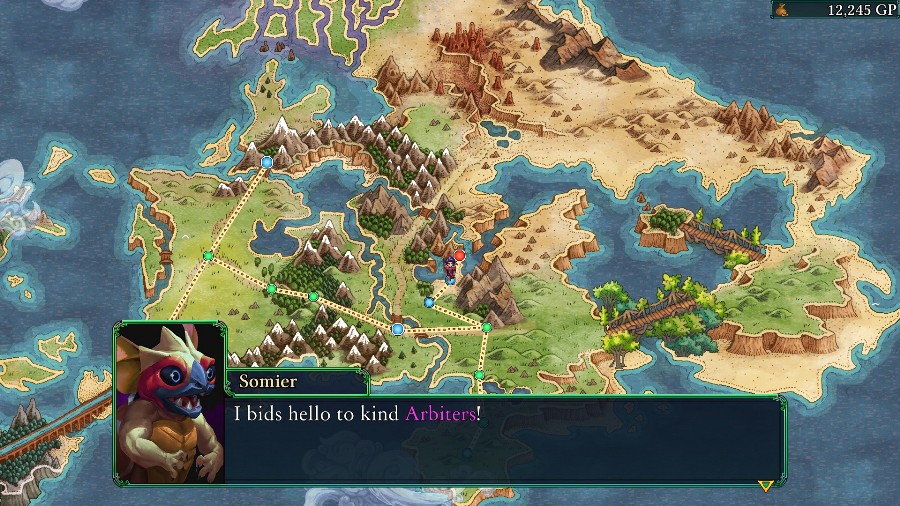
We run into Somier again!
 You’re that merchant we met alongside Bzaro. Somier, right? You’re not lost again I hope.
 I not lost! I opens store here! Great spot!
 If you say so. Please, look at wares, kind Arbiters.
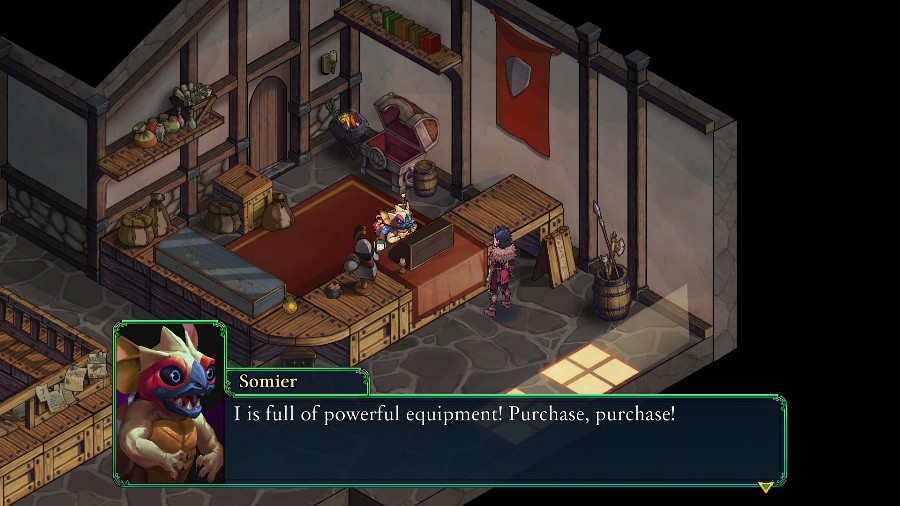
And inside, we see him at the shop counter. I just generally upgrade things, and then head out.
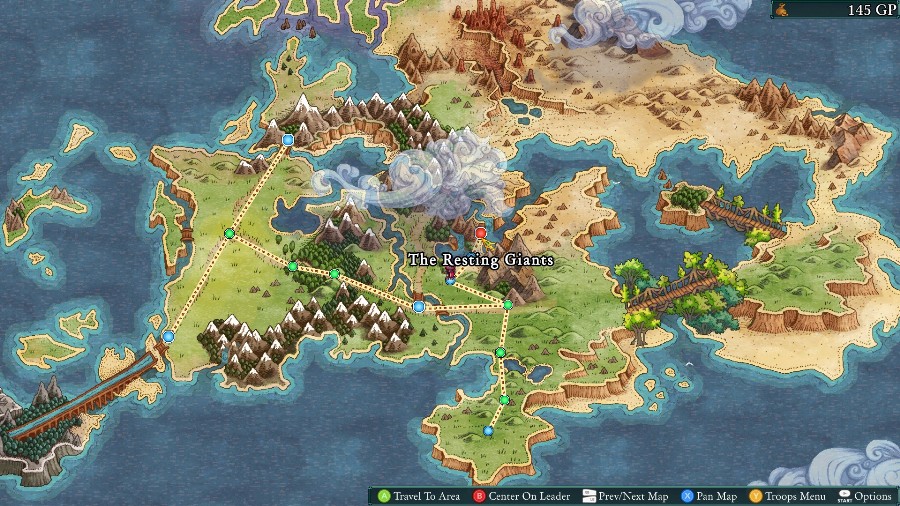
And off to the Resting Giants.


No fanfare or dialogue this time, just straight into the fight.
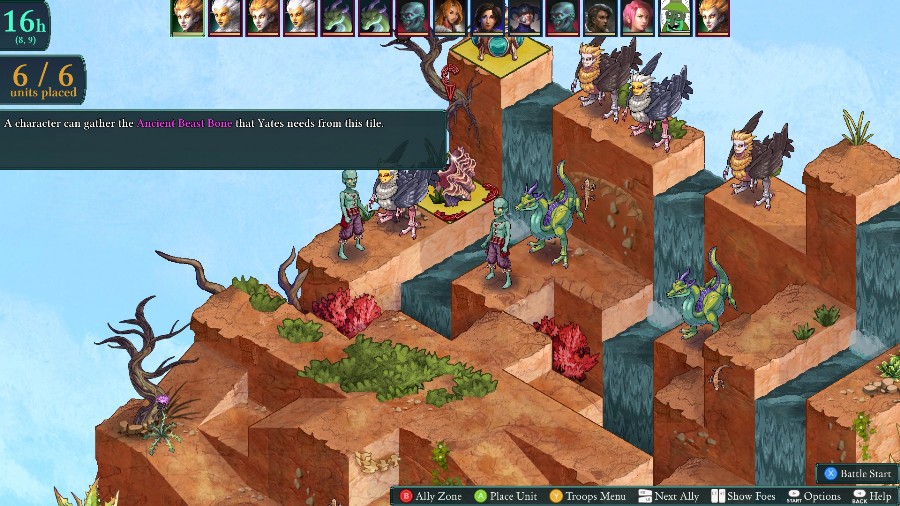
To win, all we need to do is get someone next to that spot and have them gather. (They can’t be swimming either, which is what makes that special chest up top tricky to get).

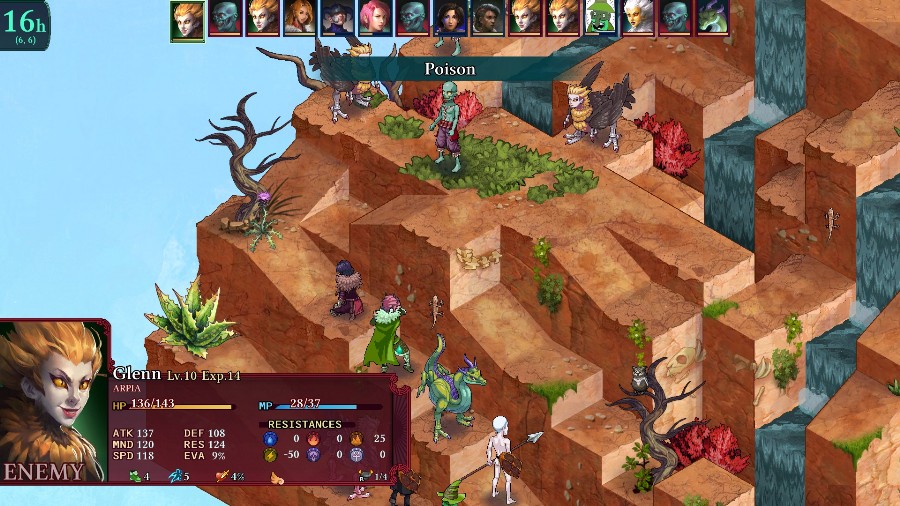
For enemies, we have some arpias and termagaunts. We fought undead versions of these last time, so these are broadly the same. They fly, have decent stats and a ranged attack, and love to inflict/take advantage of status conditions.

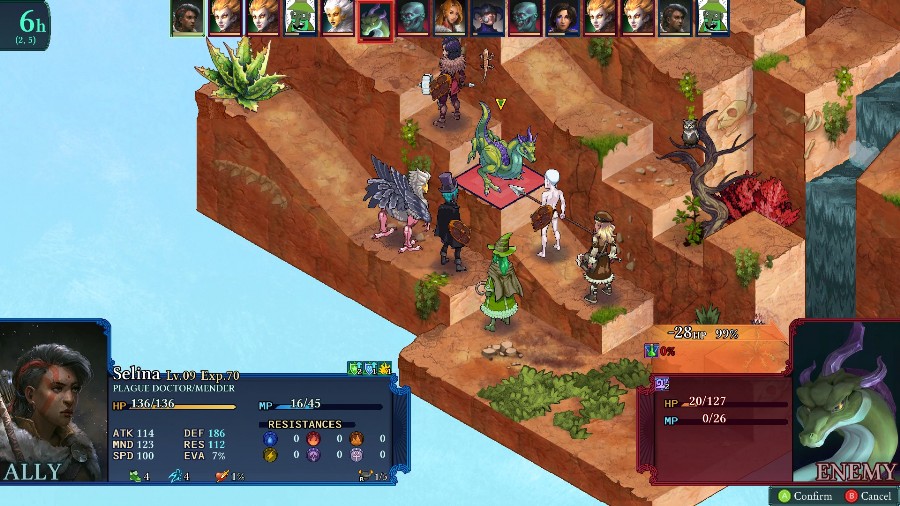
There are also these dragon-esque guys called Therva. These guys aren’t too bad, they have a move that consumes all of their MP and does damage depending on the amount in a straight line, and use MP to make their basic attacks more powerful.
There are also some zombies that I realize I didn’t describe last fight. They basic ones are pretty much just blobs of HP that can use a move with a chance to poison you. Nothing too exciting or threatening.

For our party, we have Kyrie, who’s locked in, as well as Hannah, Mongo, Selina, Bobby, and Sophie. If I’d been smart, I probably would’ve swapped out Mongo or Hannah for a ranged attacker, but whatever.
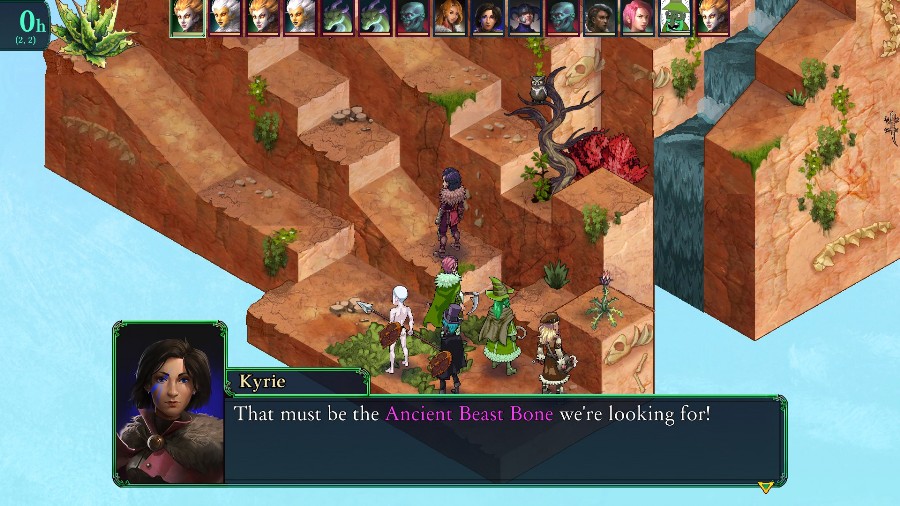
Kyrie then points out the objective and a little tutorial pops up about gathering it.
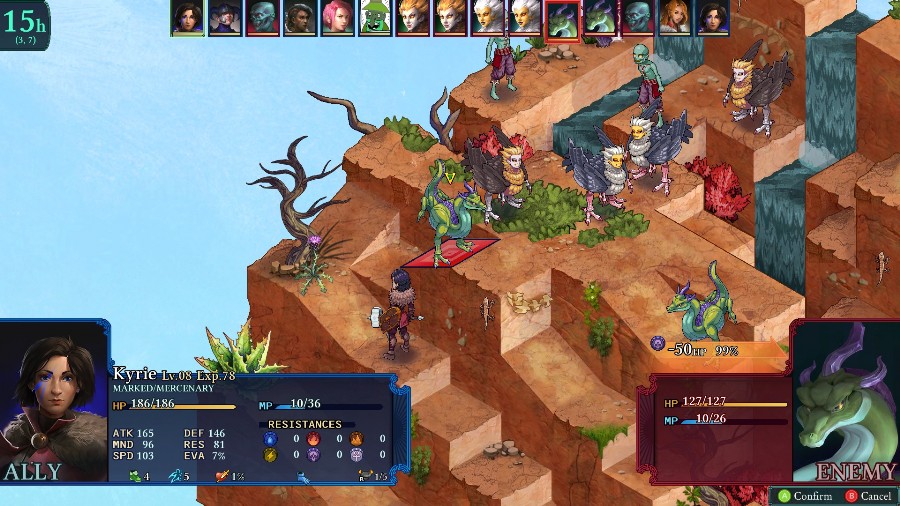
Kyrie then opens the fight with a solid hit on a Therva.

While Selina gives a group of people a bit of damage retaliation. (The animation’s pretty cool, a cage of vines pops up around each person that then sprouts a ton of thorns.)
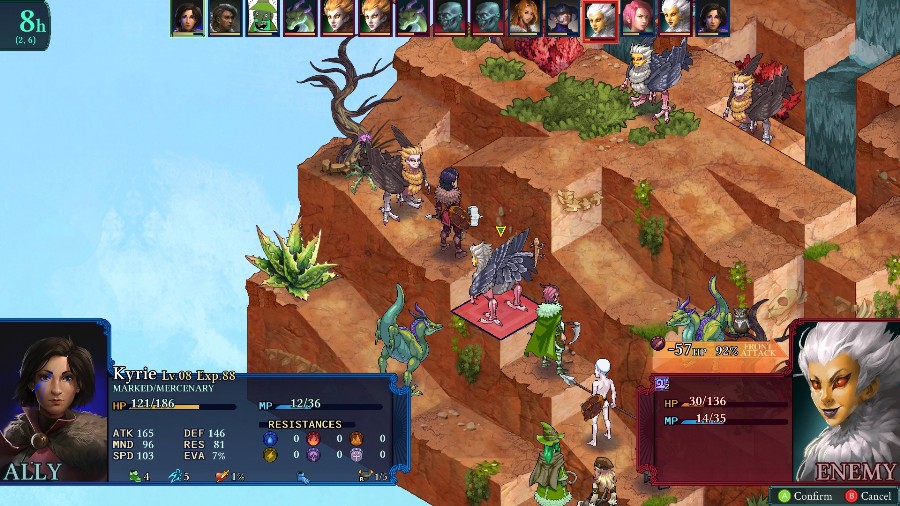
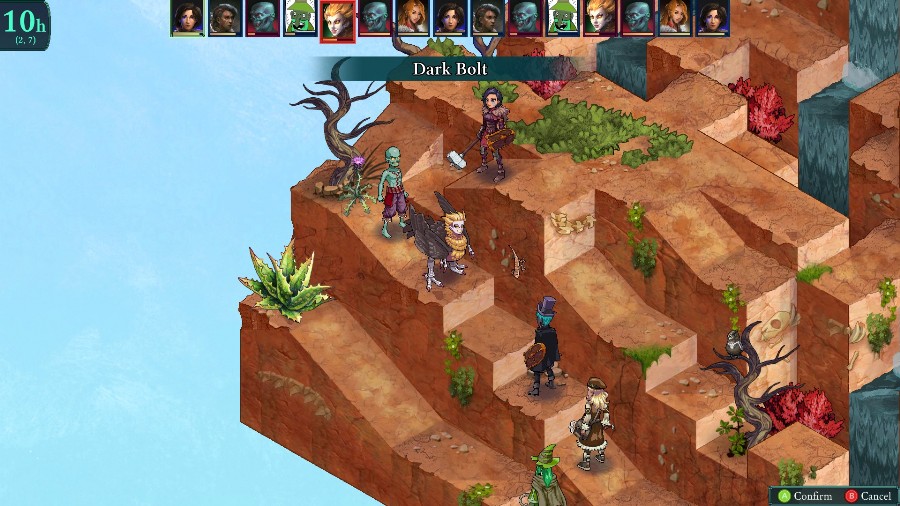
Things pretty quickly devolve into a mosh pit on the stairs while the flying enemies spam their ranged attacks with impunity. I should’ve tried hard to break out, rather than just sit on the stairs and try to tank it.
Regardless, Kyrie pretty quickly takes out one of the Termagaunts.

But eventually, the poison spam becomes too much and I can’t keep both Kyrie and Hannah up, so Hannah goes down.
While that’s happening, I take out both of the Thervals in quick succession,

But the poison spam also manages to take out Mongo.
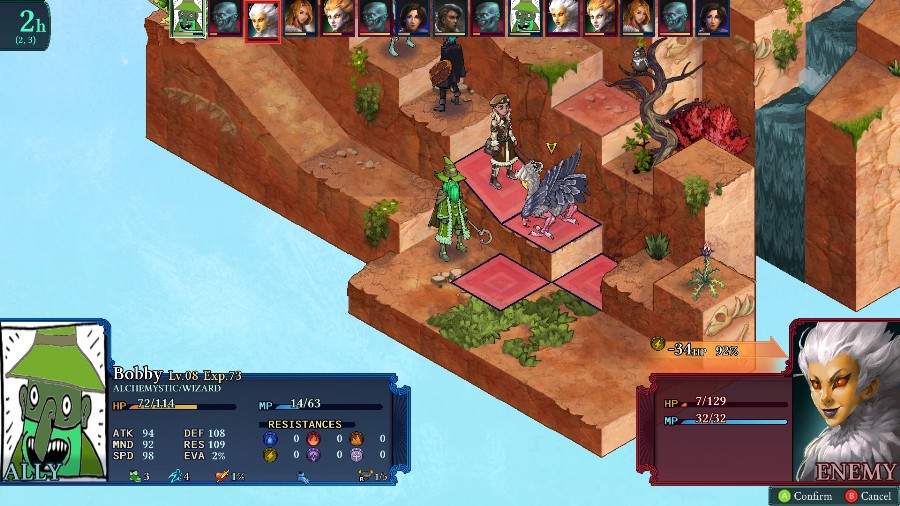
Pretty soon afterwards, Bobby finally manages to take out the other Termagaunt.
Kyrie gets the last Arpia, and then Bobby takes out the zombie with a few fire casts.

After that, Kyrie goes and grabs the bone.

Unsruprising that she got the MVP, but those injuries were really unnecessary.

Anyway, that puts us back on the world map and our next stop is back at Yates’s Cabin. However, we’re going to end this update here. Instead there’ll be another Job Overview to fill things out.